1. Blending Photos in Photoshop By Dave Cross in LayersMagazine
Dave Cross demonstrates some techniques for blending photos in Photoshop. He shows viewers how to add a color adjustment layer and a shadow effect.
Author: Dave Cross – Although his official title is Senior Developer, Education and Curriculum for the National Association of Photoshop Professionals, on his business card it simply says “Dave Cross, Chief Photoshop Guy”. Dave is involved in all aspects of the training that is provided to NAPP members, including the content of seminars, conferences, workbooks, and the NAPP members’ website. He is an Adobe Certified Instructor in Photoshop CS4 and is a Certified Technical Trainer.
2. Blend Photos Like A Hollywood Movie Poster In Photoshop by Steve Patterson in PhotoshopEssentials

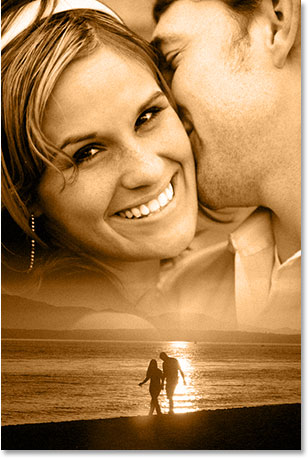
In this Photoshop tutorial, we’re going to learn how to blend photos together like a Hollywood movie poster. Blending photos is easy to do in Photoshop thanks to layer masks, yet finding two photos with similar colors isn’t always so easy, and you end up with a photo effect that doesn’t really seem to look right because the colors don’t match.
With this technique, you don’t need to worry about the colors in the images at all because we’ll be removing them completely and adding our own colors to blend the two photos seamlessly.
3. Blending Two Images Seamlessly with Photoshop By Chad Neuman

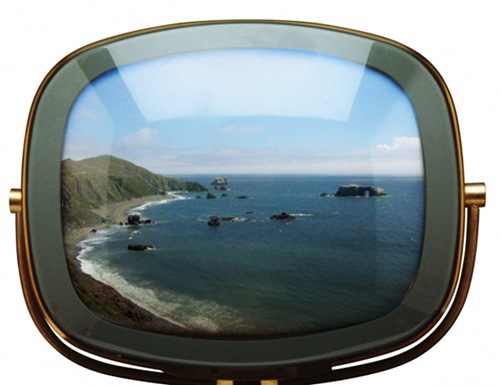
Let’s say you need add an image to another one, but it needs to look seamless. The image we’ll be adding to the other needs to have the same angle and texture of the other one. We can use the lens distortion tool and a layer blending mode for this example, and it’s also a fun way to learn the lens distortion tool and layer blending modes.
4. Seriously Blending Images Together on The Russell Brown Show – Adobe TV
Learn how to seamlessly combine images in this Adobe Photoshop CS4 tutorial. Russell Brown shows you how simple it is using the amazing Auto Align and Auto Blend functions.
5. Exposure blending tutorial
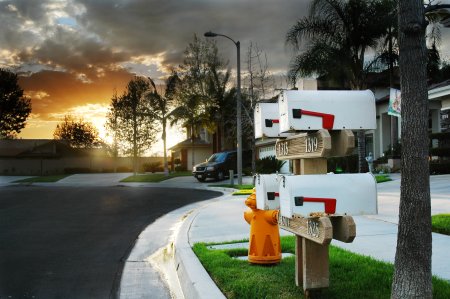
After posting Getting the Exposure Right, I received a quite a few questions about how I achieved the HDR (High Dynamic Range) version of the mailbox photo (last photo in that article). This tutorial will walk you through the basics of creating the same look by hand. All you need is camera and photo editing software that supports layer masking (you can follow these steps in Photoshop, Paint Shop Pro, and The GIMP, among others).

A little background: HDR is a type of image manipulation. The goal is to blend multiple exposures of the same scene into a single image in order to get a result that has more dynamic range than your camera is capable of recording. Typically this applies when you have uneven lighting in your scene as in the example photo.
6. Photoshop CS4 Tutorial #1: Blending (HD)
Step for step.
1. Open up the picture you want to blend.
2. Open up another picture you want to blend with.
3. Select Rectangular Marquee Tool.
4. Drag over the picture.
5. Press CTRL+C (To copy the image)
6. Go back to your background layer.
7. CTRL+V (Paste the image top on the background layer)
8. Right-click on the picture.
9. Select ”Free Transform”.
10. Drag until you’ve covered the whole image.
11. Apply the transformation, press Apply.
12. Now head down to Layer pannel.
13. Press Opacity.
14. Watch the preview, set it too somewhere around 43-50%.
15. Open the next picture you want to blend with
(This is optional, when you think your done and happy. Save and quit.)
16. Repeat the previous steps. 2-14.
7. Photoshop Blending Two Pictures Tutorial
a tutorial blending 2 pix together using the marquee method .
8. Photoshop CS5 Tutorial – Blend Cityscape with Poster
Continuing Mahalo Design’s series on making a movie poster, we will start employing color correction techniques to better incorporate the cityscape into our poster.
