Decorating your house can be a pretty pricey but you can save yourself little money on the wall art by making your own. There are different options available now a day to create edgy wall art. You can have your image printed onto block-mounted and canvas or have it framed and printed. All you truly need is an interesting image and some time to work around in Photoshop.
The photo
Fully depending on how large you are planning to make the wall art, now you are going to need to look the resolution of the image. In common for printing, you require at least 300 DPI photo resolutions. You want to set your digital camera to capture the highest quality photos that it can. The issue for this that a digital camera is records photos as series of pixels or dots. The amount of area between pixels varies according to the amount of detail the camera is told to arrest. If you select a low resolution, you will use very low space on your memory card but also get an image that has a lot more area between the pixels. When the image is enlarged, these areas become more obvious so it is the best to use top-resolution. Select an image that is completely clean and not burry.
The dimensions
Now you first need to decide how large you want to go and what shape image you want. An individual 8.5X11 size hung up on a big wall will look lost where a 16×20 or 14×17 print would do a lot faithful. Find out you select provider whether or not you can enlarge your selected picture.
The effect
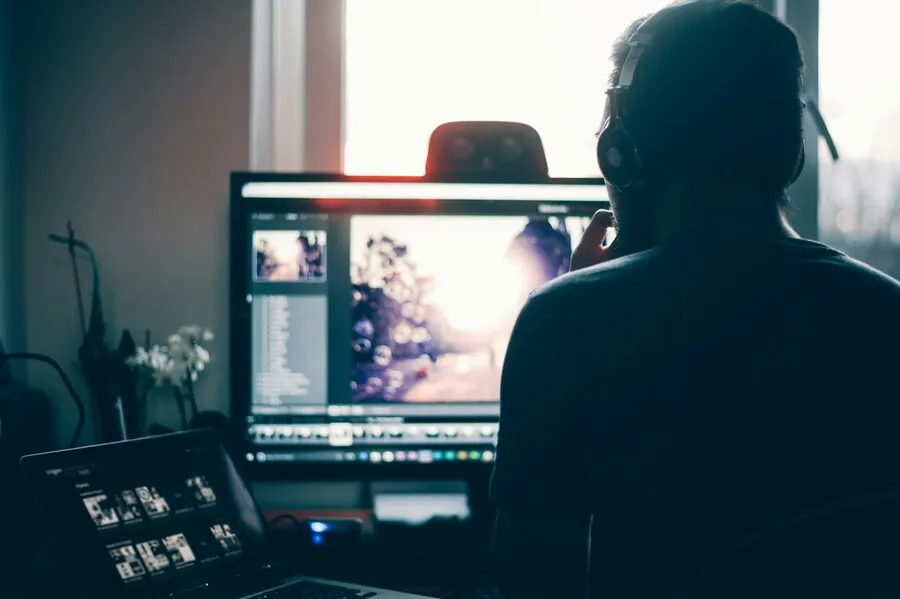
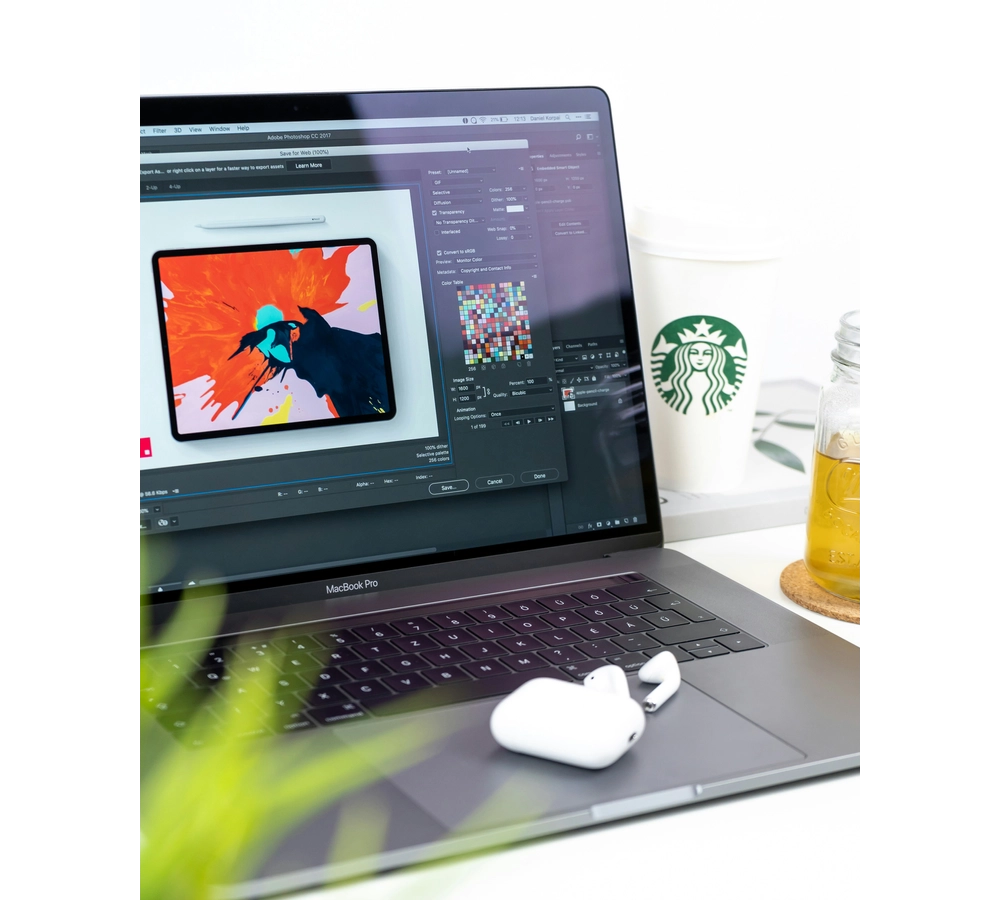
Your wall art can be creates to tie in with whatever result you are going for. Select on the ultimate look you need to go for. This can be as easy as white and black print or more complex watercolor types of results. Both these results are relatively simple to achieve through Adobe Photoshop. There are different options available on Adobe Photoshop but it will just walk through an easy one so that have a simple idea.
Covering color to white and black
White and black images never go out of trend and make a fantastic statement piece. Here you want to ensure that the actual photo is sharp and crisp and high, contracted. An image will fairly even tones look charming in white and black.
Open the organizer and choice your photo
2) Click on fix
3) Click on the full edit.
4) Now click on “enhance” in the top toolbar
5) Then choice covert to white and black
6) The pop up small package, you will be given different options with regards to the select finish. You will also be able to work on the red, blue, green balance, under the “adjustment intensity”. This option would not be visible in the design result but it does affect the image result.